
How to Make Leaf Lanterns with Kids This Fall
Autumn arrives with its crisp air and golden light, inviting you to slow down. It’s the season of cozy socks, steamy mugs, and crafts at the kitchen table. And if you’ve got kids around, making leaf lanterns is one of the easiest ways to fill a gray afternoon with warmth.
Even if your calendar is packed with assignments or school prep, this activity doesn’t demand much time or energy. Students looking for a scholarship essay writing service often feel the pressure of deadlines and future plans, but this simple craft offers a quick way to reconnect with nature.
Why Leaf Lanterns Make the Perfect Fall Activity
Kids love projects where they can collect things, use glue, and create something that lights up. Leaf lanterns tick all those boxes.
The beauty of this craft lies in its flexibility. You can do it indoors or outdoors. Even preschoolers around age three can join in with some help, but older children can manage independently. Most importantly, it gets kids off screens and into something sensory, seasonal, and just a bit magical.
What You’ll Need
You’ll want to have these supplies ready first:
- Clean glass jars
- Pressed autumn leaves
- School glue or Mod Podge
- Foam brush or paintbrush
- Battery-powered tea lights
- Paper towels
- Optional: twine or ribbon
Keep it simple. Use what you already have. There’s no need to buy anything fancy for it to feel special.
Collecting the Best Leaves for Lanterns
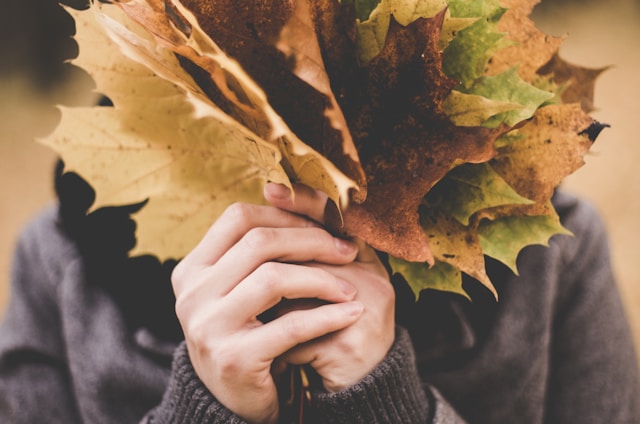
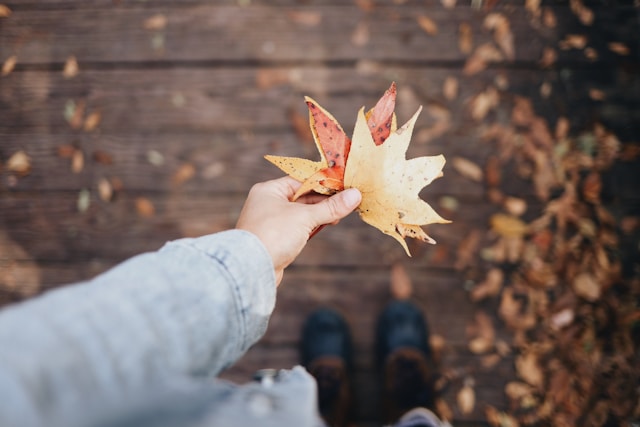
Start with a walk. Choose leaves that have just fallen and still feel soft, not brittle. Rich reds, golden yellows, or speckled orange work best. The more color, the better the glow once lit.
To keep your leaves usable, press them flat in a heavy book between two layers of paper towel for a couple of days. This keeps them from curling and helps them stick better to the glass.
If your trees aren’t cooperating, faux leaves from craft stores work fine. But real ones bring more texture and natural beauty, especially when lit from inside.
How to Make a Leaf Lantern
This part is hands-on, sticky, and very satisfying. Here’s what to do:
- Wash and dry your jar to remove any label residue.
- With the foam brush, spread a light coat of glue over a small section of the jar’s exterior.
- Gently press a leaf onto the glue, smoothing it with your fingers.
- Apply another layer of glue on top of the leaf to secure it.
- Repeat with more leaves, overlapping slightly or leaving space depending on your style.
- Allow it to dry for about 30 minutes, then cover the entire surface with a final layer of glue.
- Place a battery tea light inside and enjoy the glow.
This is the kind of process kids want to repeat on different jars, with different colors, again and again.
Kid-Friendly Variations to Try
Once kids get the hang of it, they’ll start asking, “What else can we try?” That’s where the real fun begins.
Swap out the leaves for colored tissue paper and turn the lantern into a rainbow. Add glitter glue for shimmer. Wrap twine around the jar’s rim and tie on a name tag to turn it into a gift. Some kids like mixing natural and synthetic elements. Others just want to pile on as many leaves as possible.
Where and How to Display Them
Leaf lanterns shine brightest in cozy corners. You can line them up along your windowsill, place a couple on your front porch, or set them up on the dinner table. They’re especially pretty when grouped together in sets of three or five.
Mark Bradford, an education expert from the essay writing service EssayHub, says crafts like this can actually boost focus and emotional regulation in kids. Activities that involve pattern, color, and repetition help calm the nervous system.
Conclusion
Leaf lanterns don’t require special skills or endless supplies. They don’t make a mess. And yet, they leave behind something beautiful, something that glows when the sun goes down.
If you’re trying to slow the pace or make space for small joys, this is the craft to try. You’ll make something lovely together. And for a few golden minutes, the world will feel exactly right.