
How to Crochet an Adorable Bunny Keychain: A Step-by-Step Guide for Moms & Kids
A fun crafting project to enjoy together!
Introduction
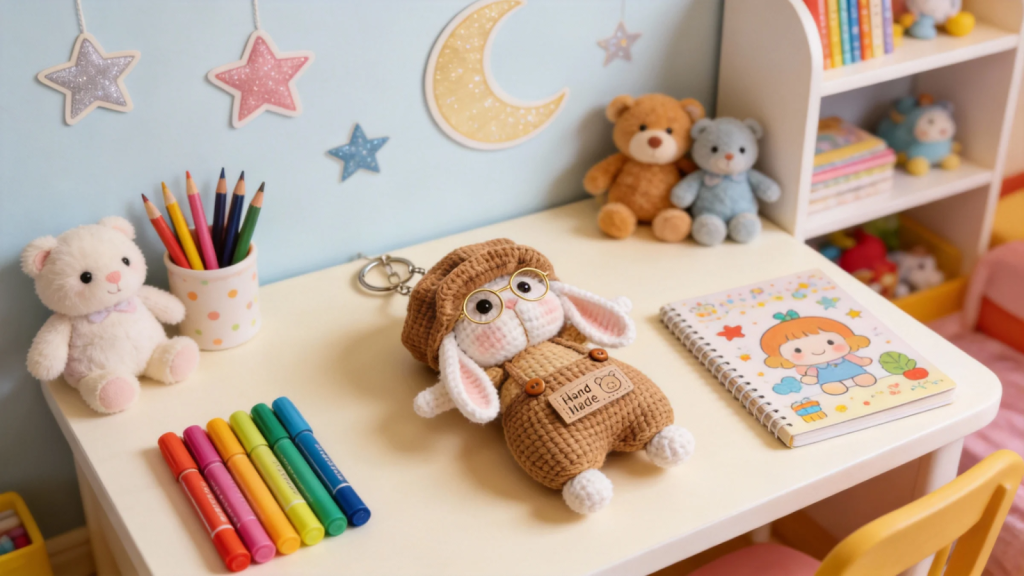
Looking for a heartwarming craft project to share with your little ones? This adorable crocheted bunny keychain is perfect for beginners and makes a wonderful handmade gift! With its cozy overalls, cute beret, and tiny round glasses, this little bunny will steal everyone’s heart.
Skill Level: Beginner to Intermediate
Finished Size: Approximately 4-5 inches tall
Time Required: 4-6 hours (can be spread over several crafting sessions)
Materials You’ll Need
Yarn
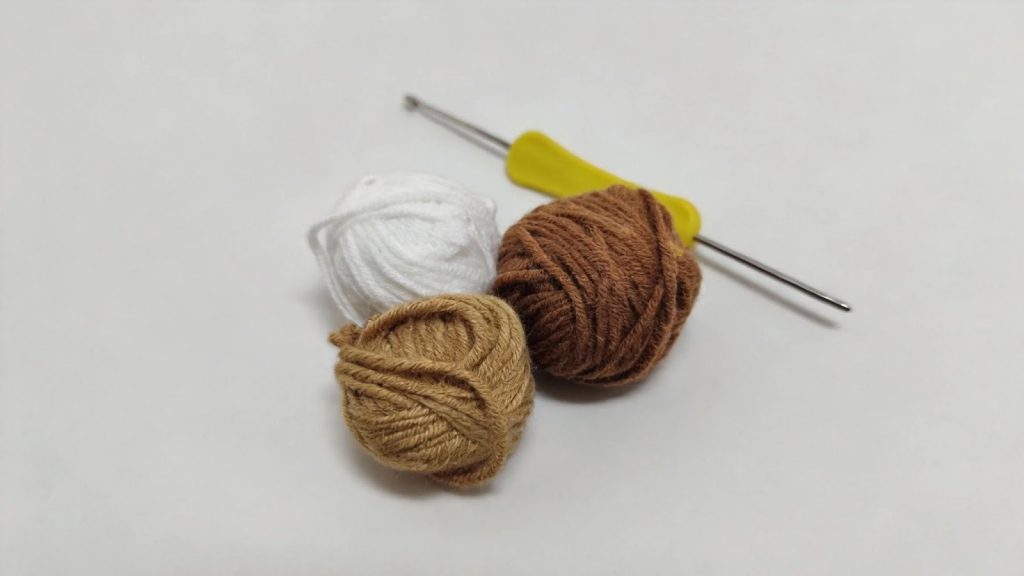
- White yarn – for the bunny’s body, head, and ears
- Tan/Camel yarn – for the overalls and beret
- Brown yarn – for accent details (optional)
Recommended: Soft velvet or chenille yarn for that plush, cuddly texture
Tools
- Crochet hook – 2.5mm or 3.0mm (adjust based on your yarn weight)
- Yarn needle – for sewing pieces together
- Scissors
- Stitch markers (optional but helpful)
Additional Supplies
- Safety eyes – 8-10mm black
- Polyester fiberfill stuffing
- Pink embroidery thread – for the nose and inner ears
- Small round glasses – doll-sized wire glasses (available at craft stores)
- Small buttons – 2 brown buttons for overalls
- Keychain clasp with ring
- “Hand Made” label (optional)
Abbreviations
| Abbreviation | Meaning |
| ch | chain |
| sc | single crochet |
| inc | increase (2 sc in one stitch) |
| dec | invisible decrease |
| sl st | slip stitch |
| st(s) | stitch(es) |
| rnd | round |
| FO | fasten off |
Pattern Instructions
Part 1: Bunny Head (White Yarn)
Rnd 1: Make a magic ring, 6 sc into the ring (6 sts)
Rnd 2: Inc in each st around (12 sts)
Rnd 3: [Sc 1, inc] × 6 (18 sts)
Rnd 4: [Sc 2, inc] × 6 (24 sts)
Rnd 5: [Sc 3, inc] × 6 (30 sts)
Rnd 6-10: Sc in each st around (30 sts) – 5 rounds
Rnd 11: [Sc 3, dec] × 6 (24 sts)
👉 Insert safety eyes between rounds 7-8, approximately 6-7 stitches apart.
Rnd 12: [Sc 2, dec] × 6 (18 sts)
👉 Start stuffing the head firmly.
Rnd 13: [Sc 1, dec] × 6 (12 sts)
Rnd 14: Dec × 6 (6 sts)
FO, leave a long tail for sewing.
Part 2: Bunny Body (White Yarn)
Rnd 1: Magic ring, 6 sc (6 sts)
Rnd 2: Inc in each st around (12 sts)
Rnd 3: [Sc 1, inc] × 6 (18 sts)
Rnd 4: [Sc 2, inc] × 6 (24 sts)
Rnd 5-10: Sc in each st around (24 sts) – 6 rounds
Rnd 11: [Sc 2, dec] × 6 (18 sts)
Rnd 12: Sc in each st around (18 sts)
👉 Stuff the body firmly.
FO, leave a long tail for sewing to the head.
Part 3: Ears (Make 2 – White Yarn)
Rnd 1: Magic ring, 6 sc (6 sts)
Rnd 2: [Sc 1, inc] × 3 (9 sts)
Rnd 3-4: Sc in each st around (9 sts)
Rnd 5: [Sc 2, inc] × 3 (12 sts)
Rnd 6-12: Sc in each st around (12 sts) – 7 rounds
FO, leave a long tail for sewing. Flatten the ear and do NOT stuff.
💡 Tip for Kids: The ears are floppy – that’s what makes our bunny so cute!
Part 4: Arms (Make 2 – White Yarn)
Rnd 1: Magic ring, 6 sc (6 sts)
Rnd 2: Inc in each st around (12 sts)
Rnd 3-4: Sc in each st around (12 sts)
Rnd 5: Dec × 2, sc 8 (10 sts)
Rnd 6-10: Sc in each st around (10 sts) – 5 rounds
FO, stuff lightly, leave tail for sewing.
Part 5: Legs (Make 2 – White Yarn)
Rnd 1: Magic ring, 6 sc (6 sts)
Rnd 2: Inc in each st around (12 sts)
Rnd 3-5: Sc in each st around (12 sts) – 3 rounds
Rnd 6: Dec × 2, sc 8 (10 sts)
Rnd 7-8: Sc in each st around (10 sts)
FO, stuff lightly, leave tail for sewing.
Part 6: Overalls (Tan Yarn)
Pants Section
Rnd 1: Ch 24, sl st to join in a circle (being careful not to twist)
Rnd 2-6: Sc in each st around (24 sts) – 5 rounds
👉 Divide for legs:
First Leg:
Work sc in 12 sts, ch 2, skip remaining 12 sts, sl st to join
Continue for 3 rounds on these 14 sts
FO
Second Leg:
Join yarn to remaining 12 sts, ch 2
Work 3 rounds of sc (14 sts)
FO
Bib & Straps
Row 1: Ch 10, turn
Row 2-5: Sc in each st across (10 sts), ch 1, turn
Row 6: Sc 3, ch 15 (for strap), skip to other side, sc 3, ch 15 (second strap)
FO and weave in ends. Attach buttons to the front of the bib.
Part 7: Beret (Tan Yarn)
Rnd 1: Magic ring, 6 sc (6 sts)
Rnd 2: Inc in each st around (12 sts)
Rnd 3: [Sc 1, inc] × 6 (18 sts)
Rnd 4: [Sc 2, inc] × 6 (24 sts)
Rnd 5: [Sc 3, inc] × 6 (30 sts)
Rnd 6-7: Sc in each st around (30 sts)
Rnd 8: Working in back loops only, sc in each st around (30 sts)
Rnd 9: [Sc 3, dec] × 6 (24 sts)
Rnd 10: Sc in each st around (24 sts)
FO, leave a tail for sewing.
💡 Tip: The back loop round creates a nice brim effect!
Assembly Instructions
Now comes the fun part – putting your bunny together!
Step 1: Attach the Head to the Body
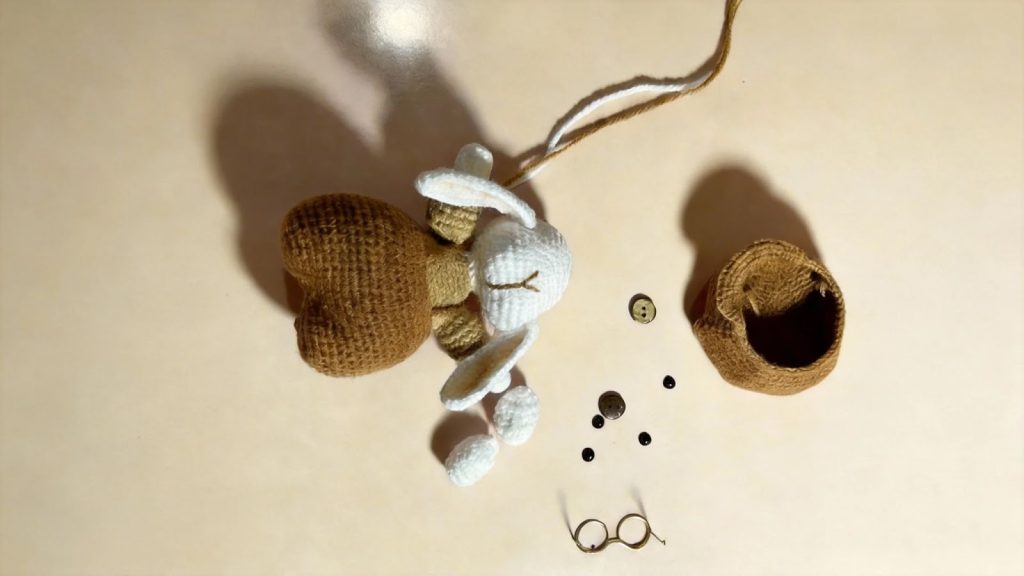
Using the yarn tail from the body, sew the head securely to the body with a whip stitch. Make sure to go around twice for extra security.
Step 2: Attach the Ears
Flatten the ears and sew them to the top sides of the head. Position them so they flop down adorably beside the face.
Step 3: Embroider the Face
- Use pink embroidery thread to create a small triangular nose
- Add a simple line underneath for the mouth
- Stitch pink coloring inside the ears
Step 4: Dress Your Bunny
Slide the overalls onto the body. Cross the straps in the back and attach to the back of the waistband.
Step 5: Attach Arms & Legs
- Sew arms to the sides of the body, just below where the head meets
- Sew legs to the bottom of the body
Step 6: Add Accessories
- Place the beret on the bunny’s head and tack it in place with a few stitches
- Carefully position the wire glasses on the face
Step 7: Add the Keychain
Attach the keychain clasp through the top of the beret.
Step 8: Final Touches
Sew on your “Hand Made” label to the front of the overalls – you’ve earned it!
Helpful Tips for Crafting with Kids
🌟 Make it a Team Effort:
- Kids can help wind yarn, count stitches, and stuff the pieces
- Older children (8+) can learn basic chain and single crochet stitches
- Let them choose button colors or pick out the glasses
🌟 Break It Up:
Don’t try to finish in one sitting! Make one piece per crafting session to keep it fun and prevent frustration.
🌟 Celebrate Mistakes:
Imperfections make handmade items special! Every wobbly stitch tells a story.
🌟 Display with Pride:
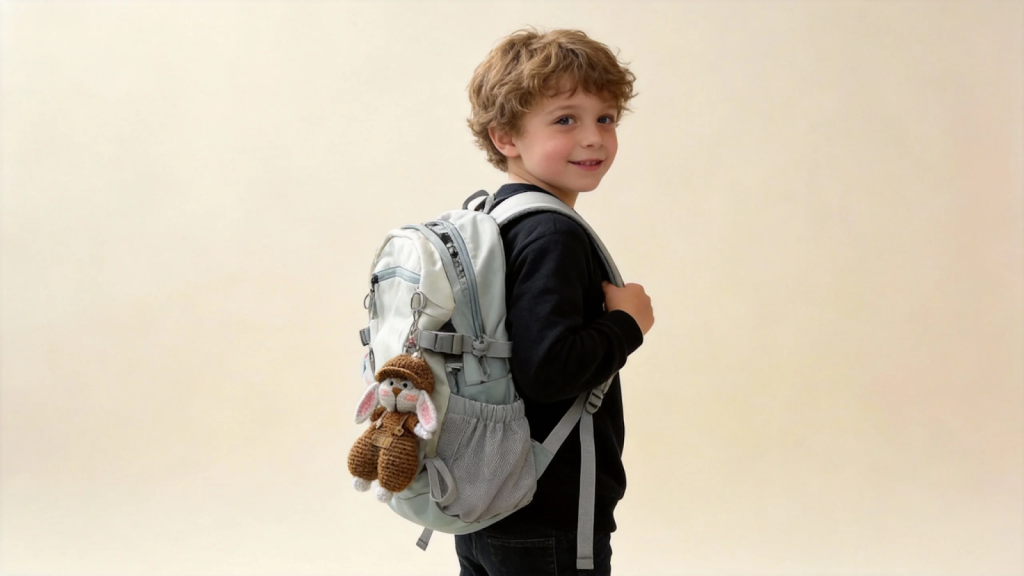
Hang your finished bunny somewhere special or attach it to a backpack!
Troubleshooting Common Issues
| Problem | Solution |
| Pieces look loose/holey | Try using a smaller hook size |
| Stuffing shows through | Use less stuffing or tighter stitches |
| Arms/legs different sizes | Count your stitches each round! |
| Ears won’t stay floppy | Make sure you didn’t stuff them |
Share Your Creation!
We’d love to see your finished bunny! Tag us on social media or send photos to ourkidthings.com – we might feature your creation!
Short on Time? We’ve Got You Covered! 🎁
We know life with kids is busy! If you love this adorable bunny but don’t have time to crochet one yourself, you can get a beautifully handcrafted, ready-made version from our friends at VANA PURE.
✨ Handcrafted Crochet Bunny AirTag Keychain Plush
Each bunny is lovingly made by skilled artisans and features:
- Premium soft yarn
- Adorable glasses and beret
- Built-in AirTag holder (perfect for keeping track of keys or bags!)
- Ready to gift or enjoy
🔒 Bonus for Parents: This plush features a hidden AirTag compartment inside! Simply slip an Apple AirTag into the bunny and attach it to your child’s backpack. You’ll always know where their bag is – giving you peace of mind and giving your little one an adorable buddy to carry along. It’s the perfect blend of cute and practical for busy school days! 🎒✨👉 Shop now at vanapure.com