
Turn Your Craft Prints into Stickers
We’ve been having so much fun lately turning our favorite craft prints into stickers, and it might just be one of the easiest (and most exciting) projects yet. There’s something extra special about taking artwork your kids already love and turning it into something they can peel, stick, and use all over the place.
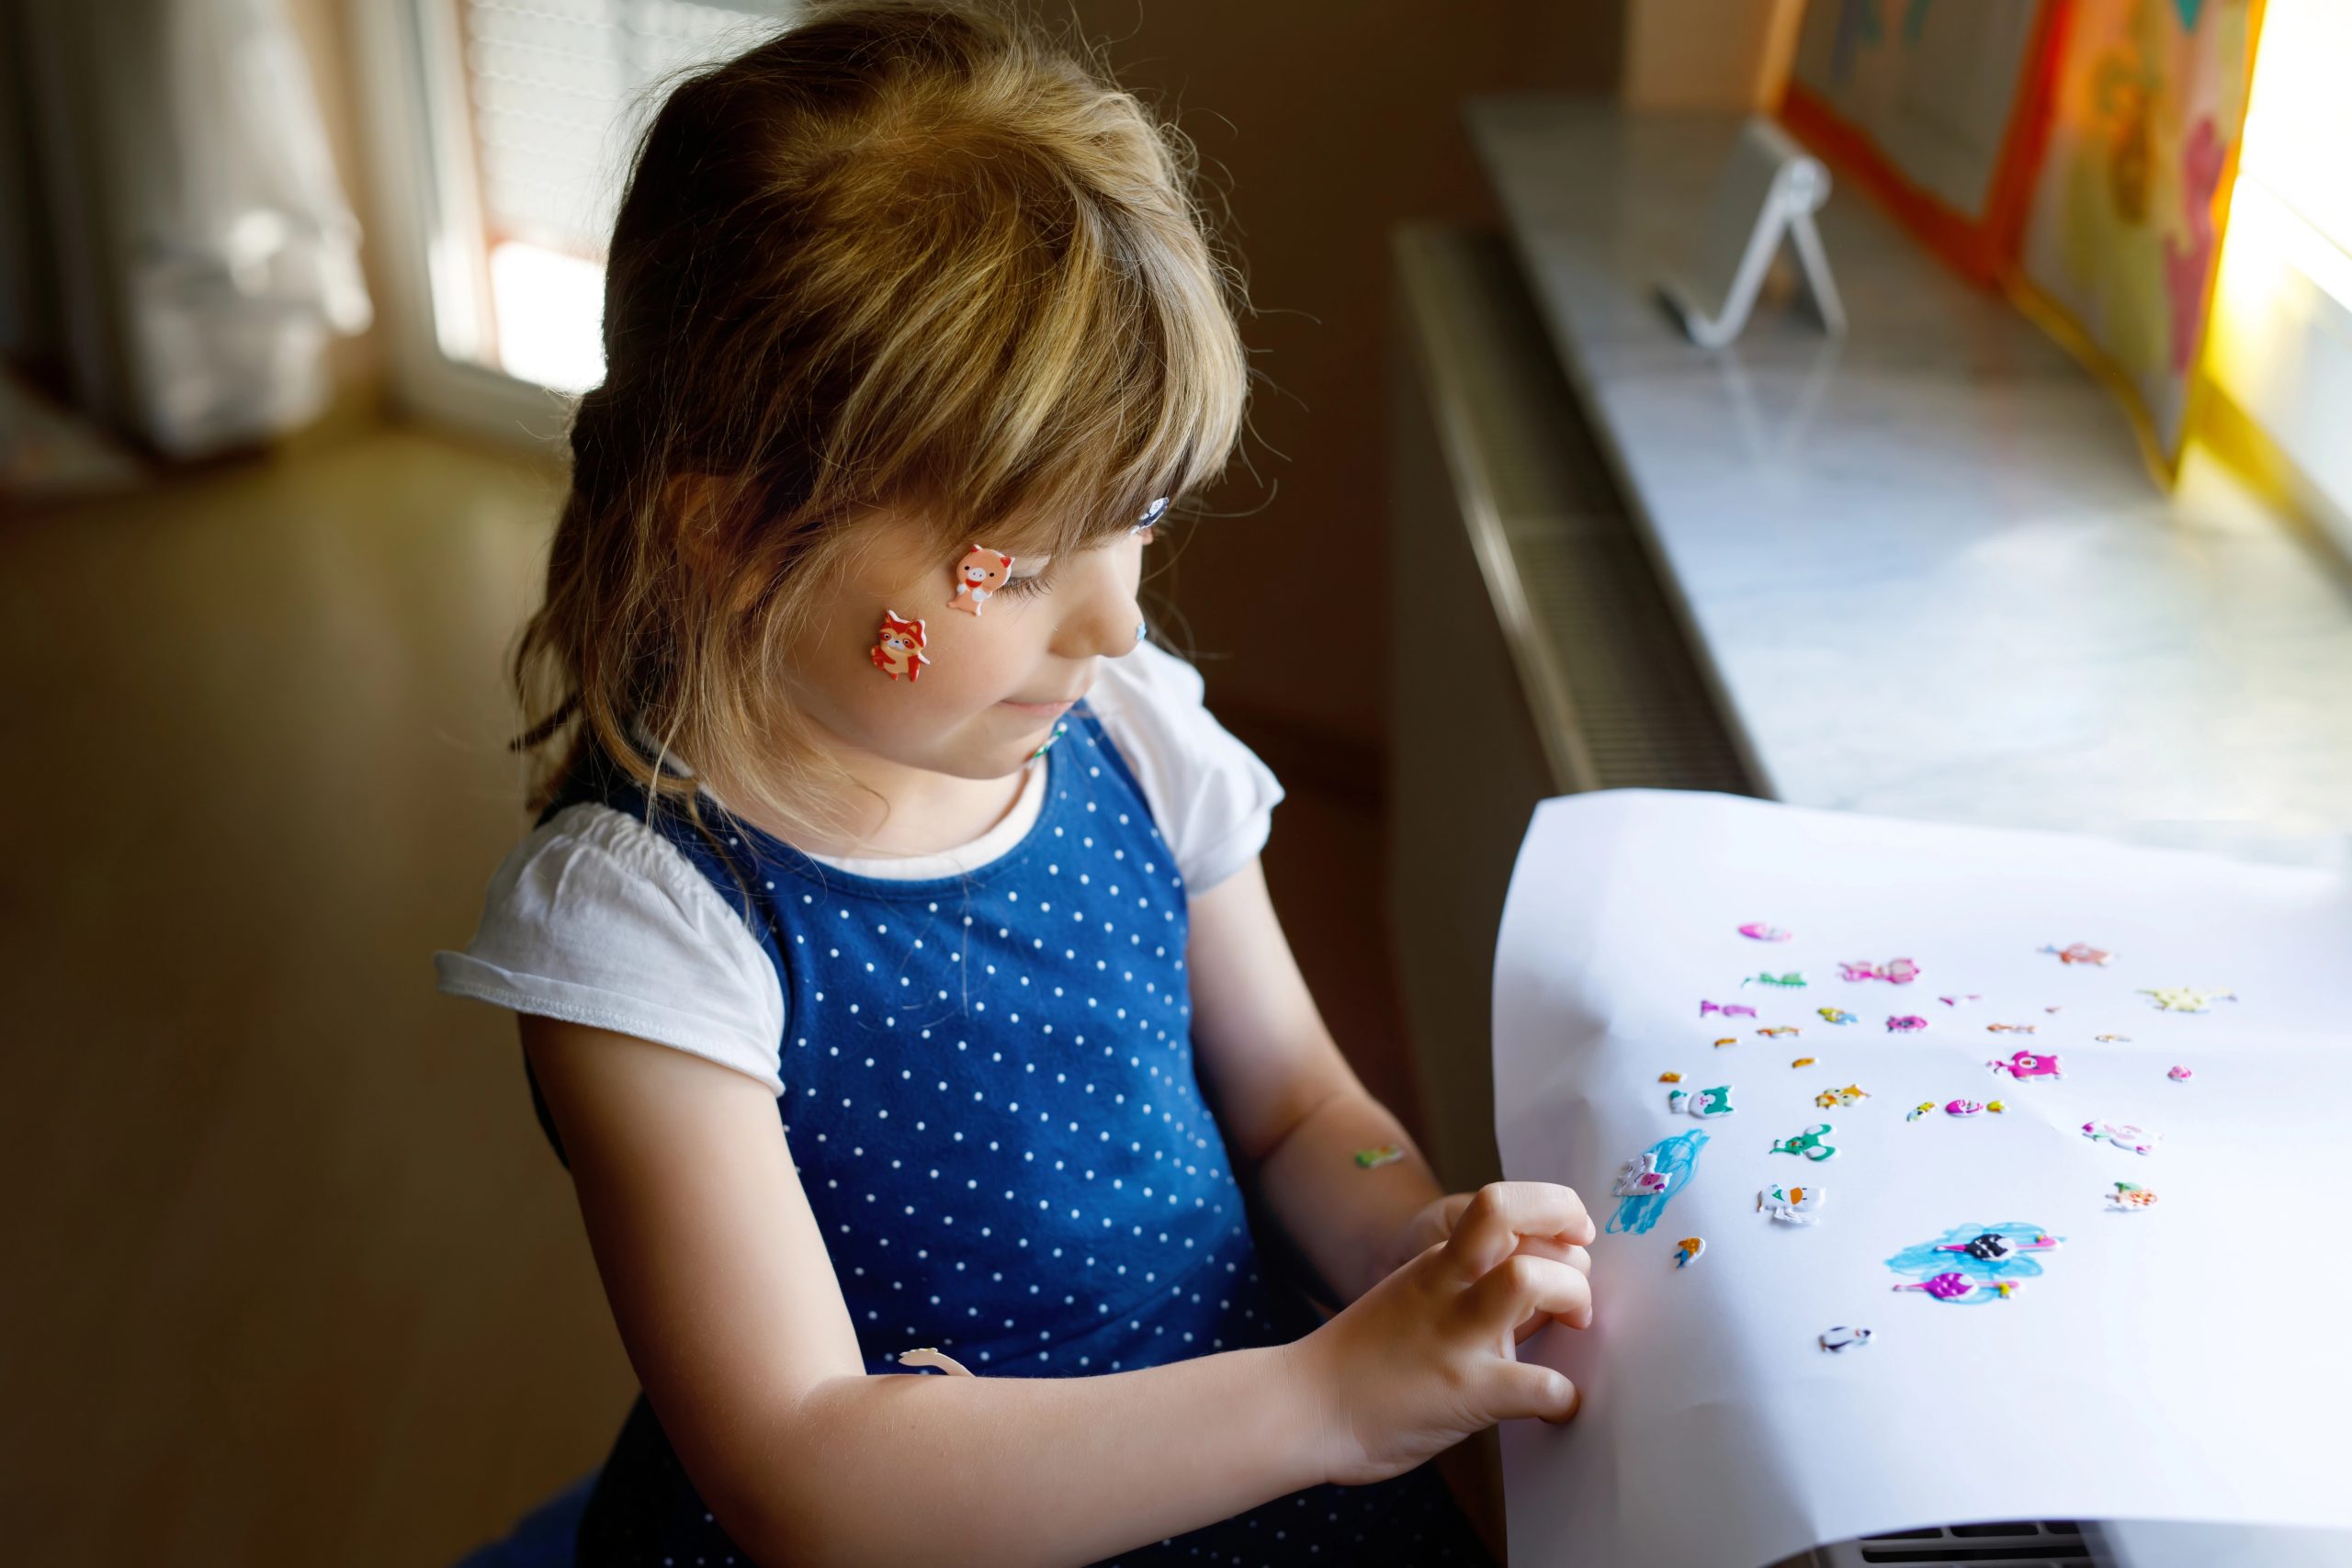
Whether it’s a coloring page, a seasonal craft, or a quick doodle from the kitchen table, turning it into a sticker somehow makes it feel brand new again. And if your kids are anything like ours, once they start making stickers, they won’t want to stop.
The best part? You don’t need anything complicated to get started.
Supplies Needed
- Printed craft designs (your own or printables)
- Scissors
- Clear packing tape or adhesive laminate sheets
- Sticker paper or plain paper + glue
- Wax paper (optional)
You probably already have most of these at home, which makes this such an easy last-minute activity.
How to Turn Craft Prints into Stickers
1. Start with Your Favorite Prints
Pick out your favorite designs, these can be coloring pages, holiday crafts, or even little drawings your kids made themselves. We love using bold, simple shapes because they’re easier for little hands to cut out.
If your kids have a stack of old artwork, this is a great way to give it new life instead of tossing it aside.
2. Cut Out Your Designs
Carefully cut around each shape. Younger kids may need a little help, but older kids will love doing this part on their own.
Don’t worry about making every edge perfect. We actually think the slightly wobbly lines make them even more fun and unique.
3. Add a Protective Layer
Place a strip of clear packing tape over the front of each design. This step helps protect the paper and gives your sticker a smooth, slightly shiny finish.
If you have adhesive laminate sheets, those work really well too and make the stickers feel a bit more durable. Either way, this step helps your stickers last longer, especially if little hands are using them.
4. Create the Sticky Back
Now it’s time to make your stickers actually stick! Here are a few easy methods:
- Sticker Paper Method:
If you printed your designs on sticker paper, you can skip extra steps and go straight to cutting and peeling. - Glue Method:
Add a thin layer of glue to the back of each piece and let it dry until it becomes tacky. This works best if you plan to use the stickers right away. - Tape Method (Our Favorite!):
Place a piece of packing tape on the back of your design, then stick it onto wax paper. When you’re ready to use it, just peel it off like a regular sticker.
We’ve tried all three, and honestly, they all work, it just depends on what you have on hand.
5. Trim and Finish
Once everything is layered, cut around your design one more time if needed. This helps clean up the edges and gives your stickers a finished look.
And that’s it, your stickers are ready to use!
Using a Printer to Make Stickers
If you’re looking for a slightly more polished version, a great option is to print them, and it’s still just as easy.
Start by digitizing your artwork. You can scan it or take a clear photo with your phone. Try to snap the picture in natural light so the colors stay bright and true.
Once you have your image, upload it to your computer. You can resize it, duplicate it, or even arrange multiple designs on one page to make the most of your paper.
Next, print your designs onto adhesive sticker paper. Most home printers work just fine for this, and the results are always so fun to see.
Let the ink dry for a minute or two, then cut out your shapes. You’ll end up with clean, colorful stickers that look almost store-bought, but way more special because your kids made them.
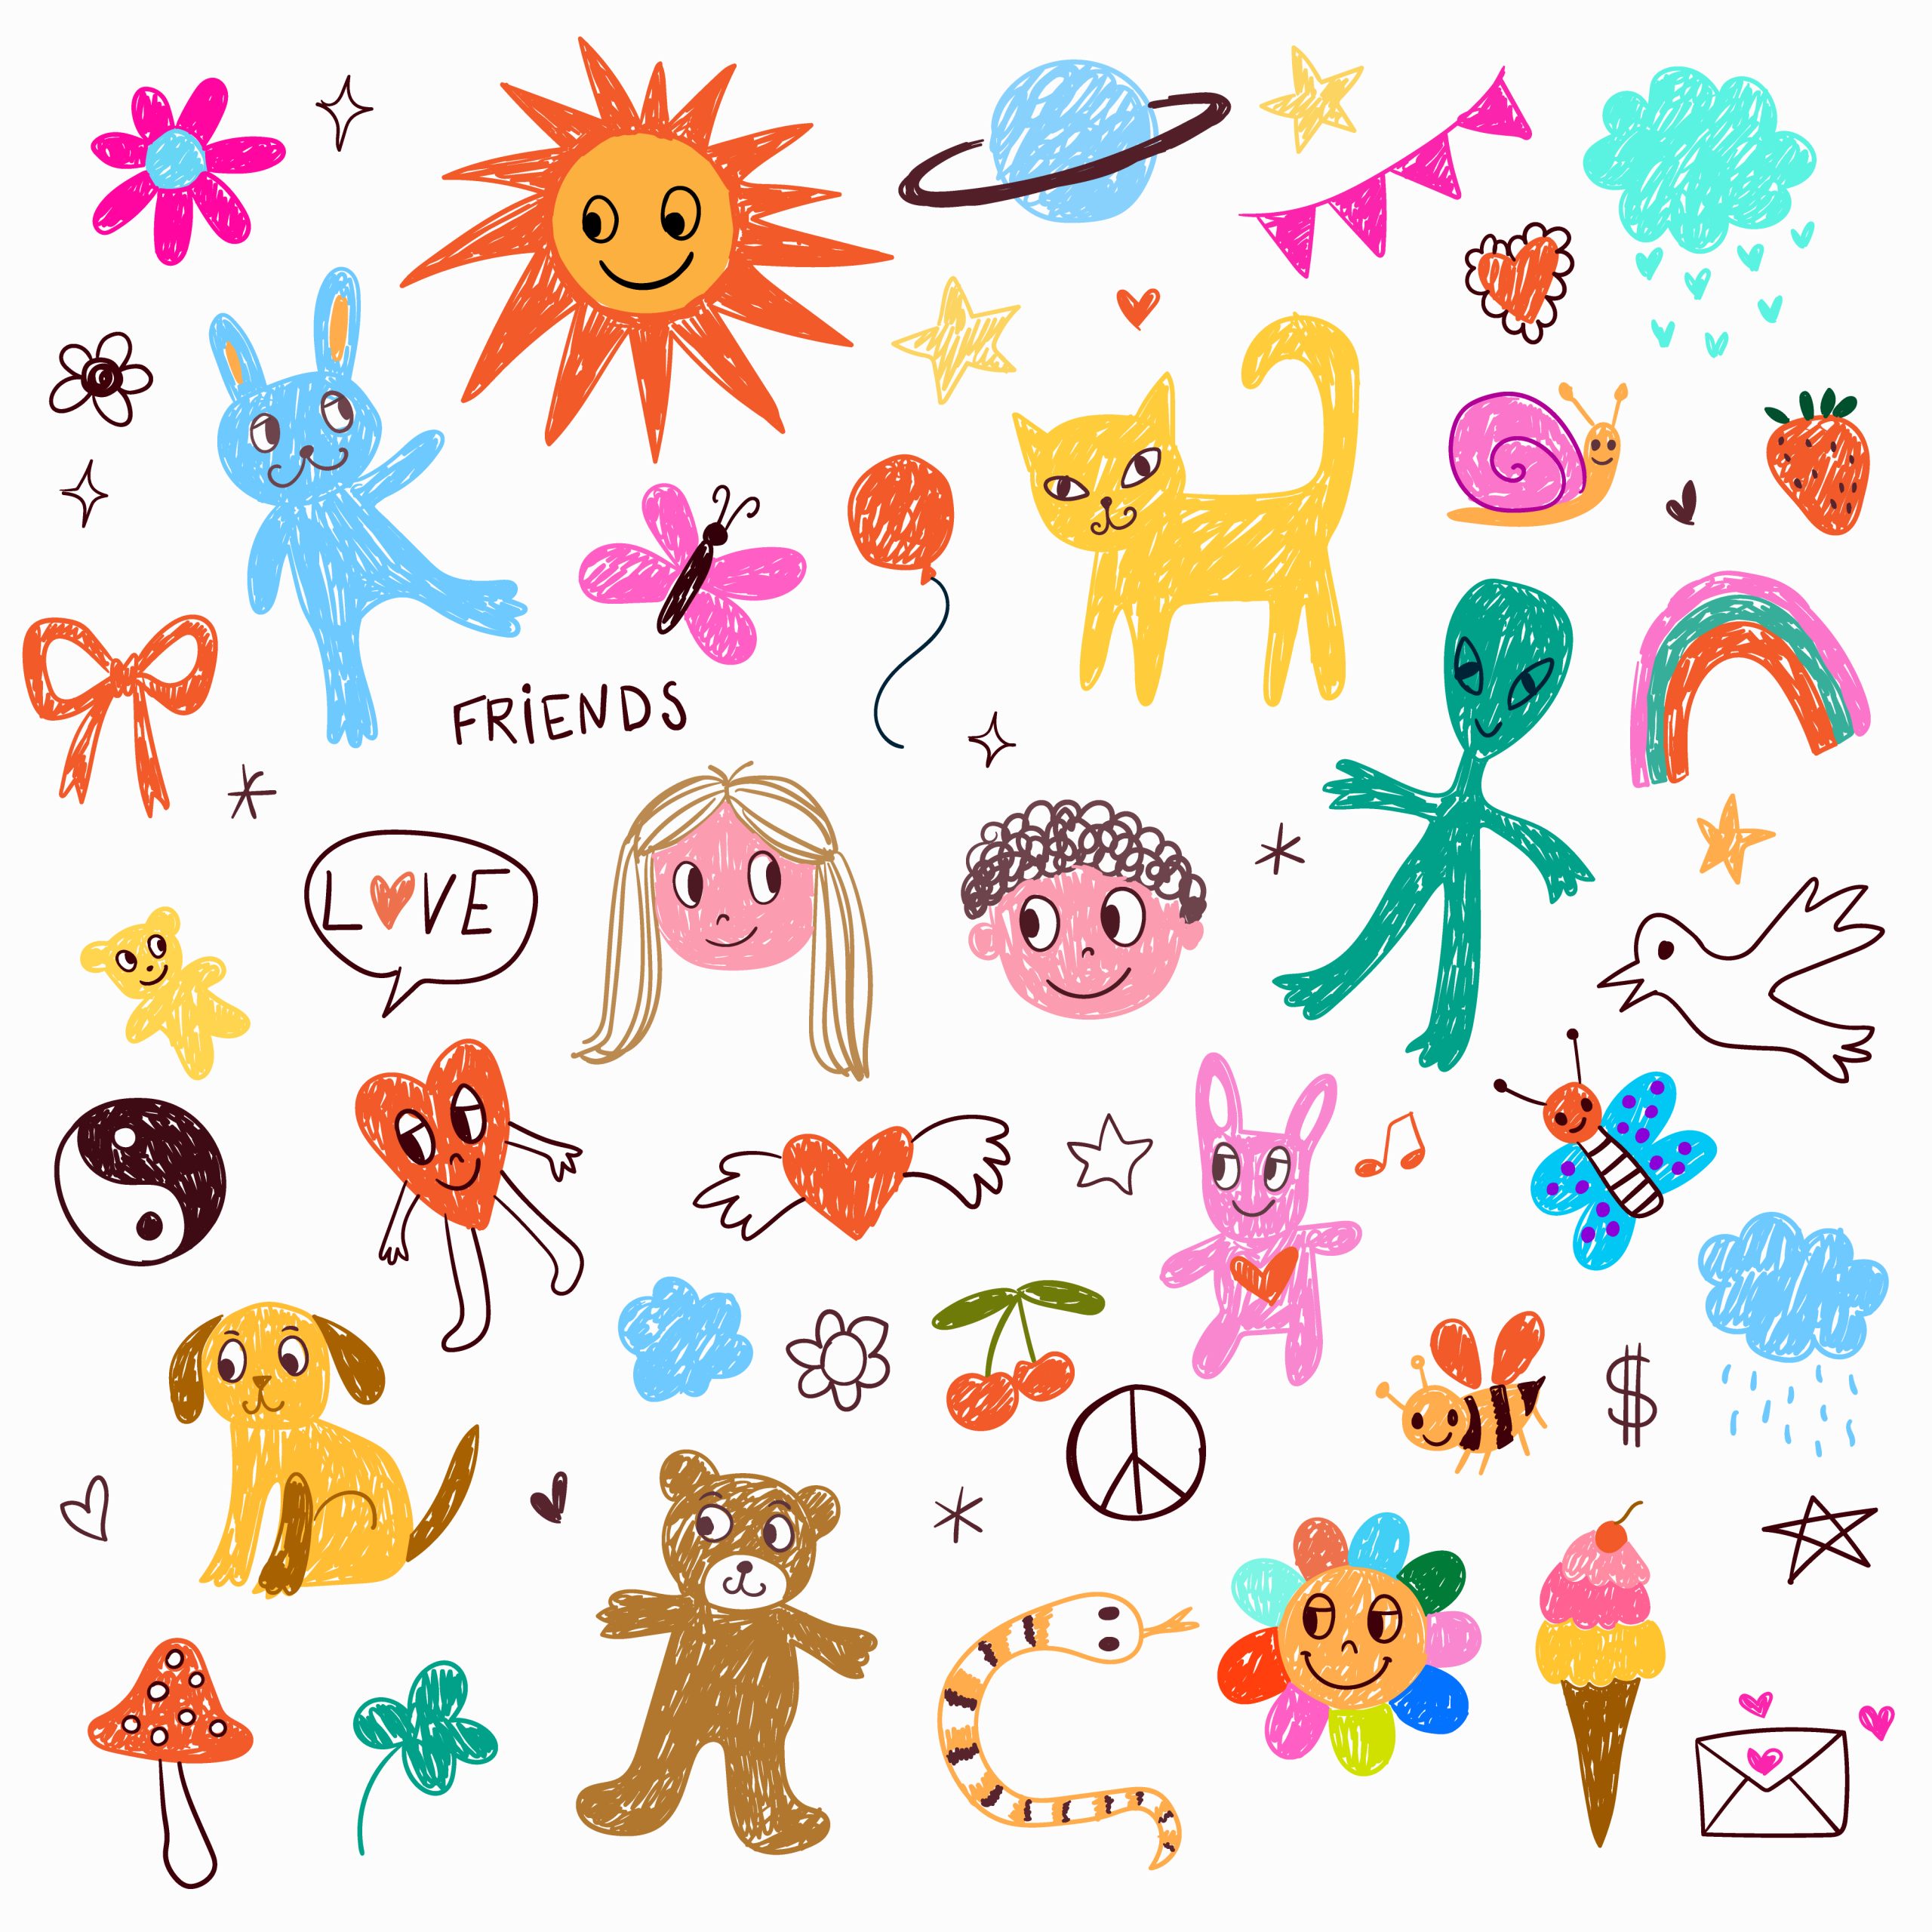
This is also a great option if your child has a favorite drawing they want to turn into multiple stickers.
Fun Ways to Use Your DIY Stickers
Once you start making these, you’ll quickly find all kinds of ways to use them. Here are a few of our favorites:
- Decorating notebooks, folders, and school supplies
- Adding a personal touch to handmade cards
- Creating sticker scenes on paper or cardboard
- Using them as rewards or little surprises
- Decorating jars, boxes, or craft projects
We’ve even made themed sticker sets for holidays and birthdays, which is always a hit.
A Simple Craft with Big Smiles
We love how simple this project is, and how it turns everyday prints into something completely new. It’s a fun way to reuse artwork, encourage creativity, and keep kids engaged without needing a lot of prep.
It’s also one of those crafts that works for all ages. Younger kids can help with sticking and decorating, while older kids can take the lead on cutting, designing, and even printing their own sheets.
And at the end of it all, you’re left with something they’re genuinely excited to use.
Because let’s be honest, stickers never get old.
If you give this a try, we’d love to hear how your stickers turn out!