
Make Your Own Colorful Custom Car Air Fresheners Following This Simple Guide
In the mood for a craft activity with a twist? Looking to make something with a practical use rather than yet another item to stick on the fridge?
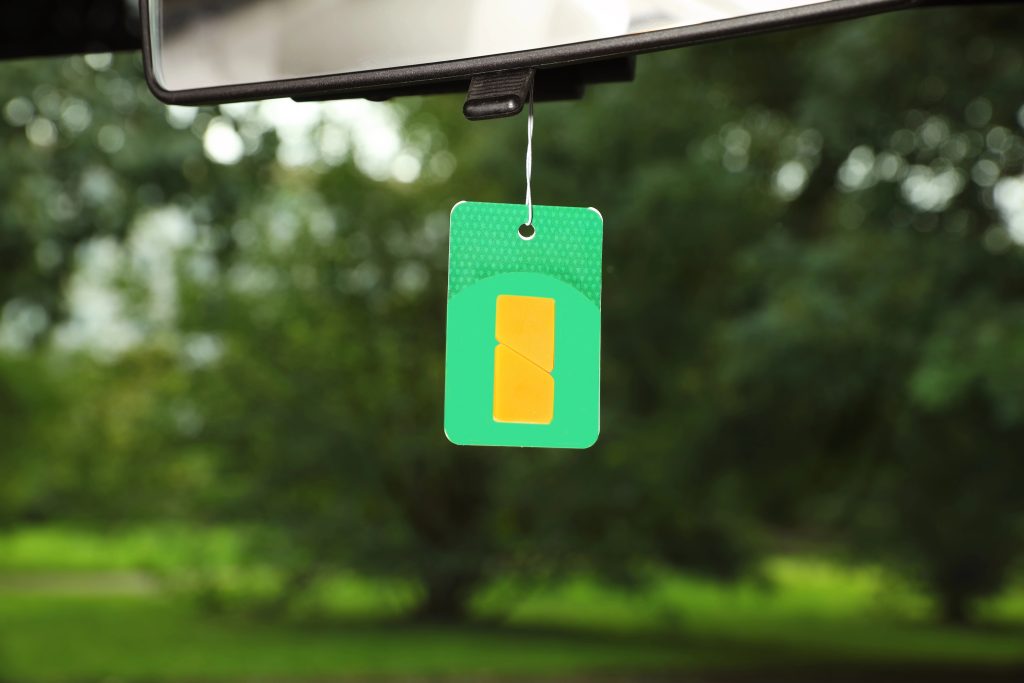
Making your own car air fresheners is a fun kid-friendly craft where you get the freedom to choose the scents, designs, and colors you love. This step-by-step guide outlines the process you should take to make custom air fresheners with your kids at home.
Why Make Custom Air Fresheners?
Custom air fresheners are a real novelty.
You can get these made for you by sites like Make My Freshener or Custom Comet, and yes, the quality might be better and your design options not limited by your own artistic skills, but there’s nothing like the creative freedom of designing your very own air fresheners.
DIY novelty air fresheners are great for any occasion. You can do them as a rainy day craft or make special air fresheners to gift on occasions like Mother’s Day. They give your kids the opportunity to get creative, choosing their favorite scents or even combining scents for their own unique perfume.
What You’ll Need
Gather all these materials before you get started:
- Felt sheets (any color)
- Scissors
- Essential oils (like lavender, lemon, vanilla, or peppermint; all great natural air fresheners)
- Hole punch
- String or ribbon
- Markers or fabric paint (optional for decorating)
- Cookie cutters or stencils (for shaping)
Step 1: Cut Out Your Shapes
Start by tracing shapes onto the felt. You can use cookie cutters or stencils in the shape of hearts, stars, Christmas motifs, cars, or anything else that suits the occasion.
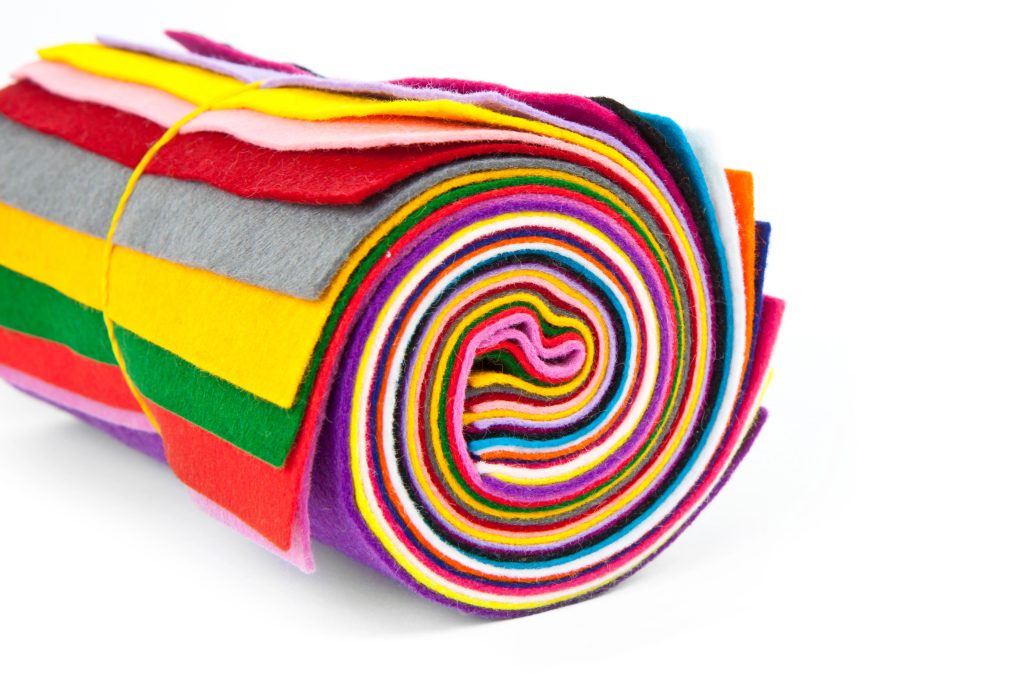
Once you’ve traced your design, cut it out carefully. If your kids are helping, give them a pair of safety scissors so they can join in.
Step 2: Add Scent with Essential Oils
Next, add a few drops of your favorite essential oil to the felt. Start with 5 drops and give it a smell to see if it’s enough. You can always add more if you want a stronger scent—just don’t go too overboard!
Let the felt absorb the oil for a few minutes before moving on to step 3.
Step 3: Decorate
Now it’s time for the fun part: decorating your air freshener.
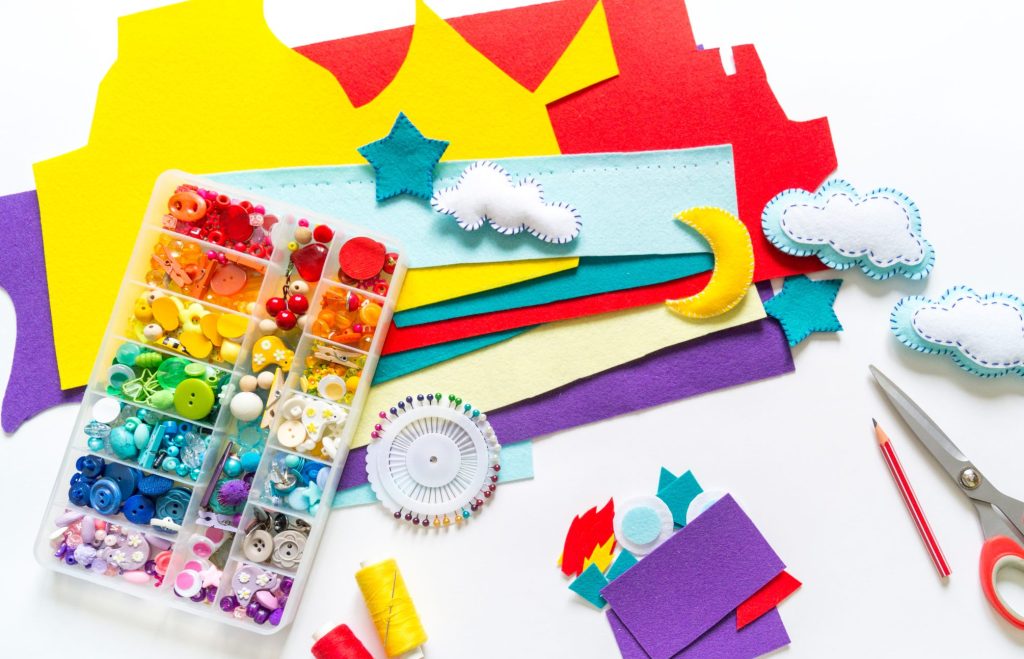
You can use whatever you want here. Markers and fabric paint are good options for adding color to your designs, and stickers are always a hit for kids. Let your air freshener dry before moving on.
Step 4: Punch a Hole and Add String
Once your decoration is finished, you need to make your air freshener functional. Punch a hole near the top of the shape, then thread a piece of string or ribbon through and tie a knot to make a loop.
Let the air freshener dry completely, then hang it from your rearview mirror or tuck it into a cup holder. If the scent fades, you can give it a refresh by adding a few more drops of essential oil.

Homemade air fresheners make great gifts and can be customized in so many ways. So have fun, be creative, and don’t be afraid to get messy!