
Easy Tips for Ironing on Girl Scout Patches at Home
If you have a Girl Scout in your family, chances are their sash or vest is proudly covered in patches of all shapes, sizes, and colors. These patches are more than just decorations—they’re one of the many perks of being a Girl Scout, offering a fun and meaningful way to showcase passions and personality. Each custom patch tells a story, coming together to create a visual journey of growth, milestones, and achievements. And just like every Girl Scout, no two journeys are exactly alike.
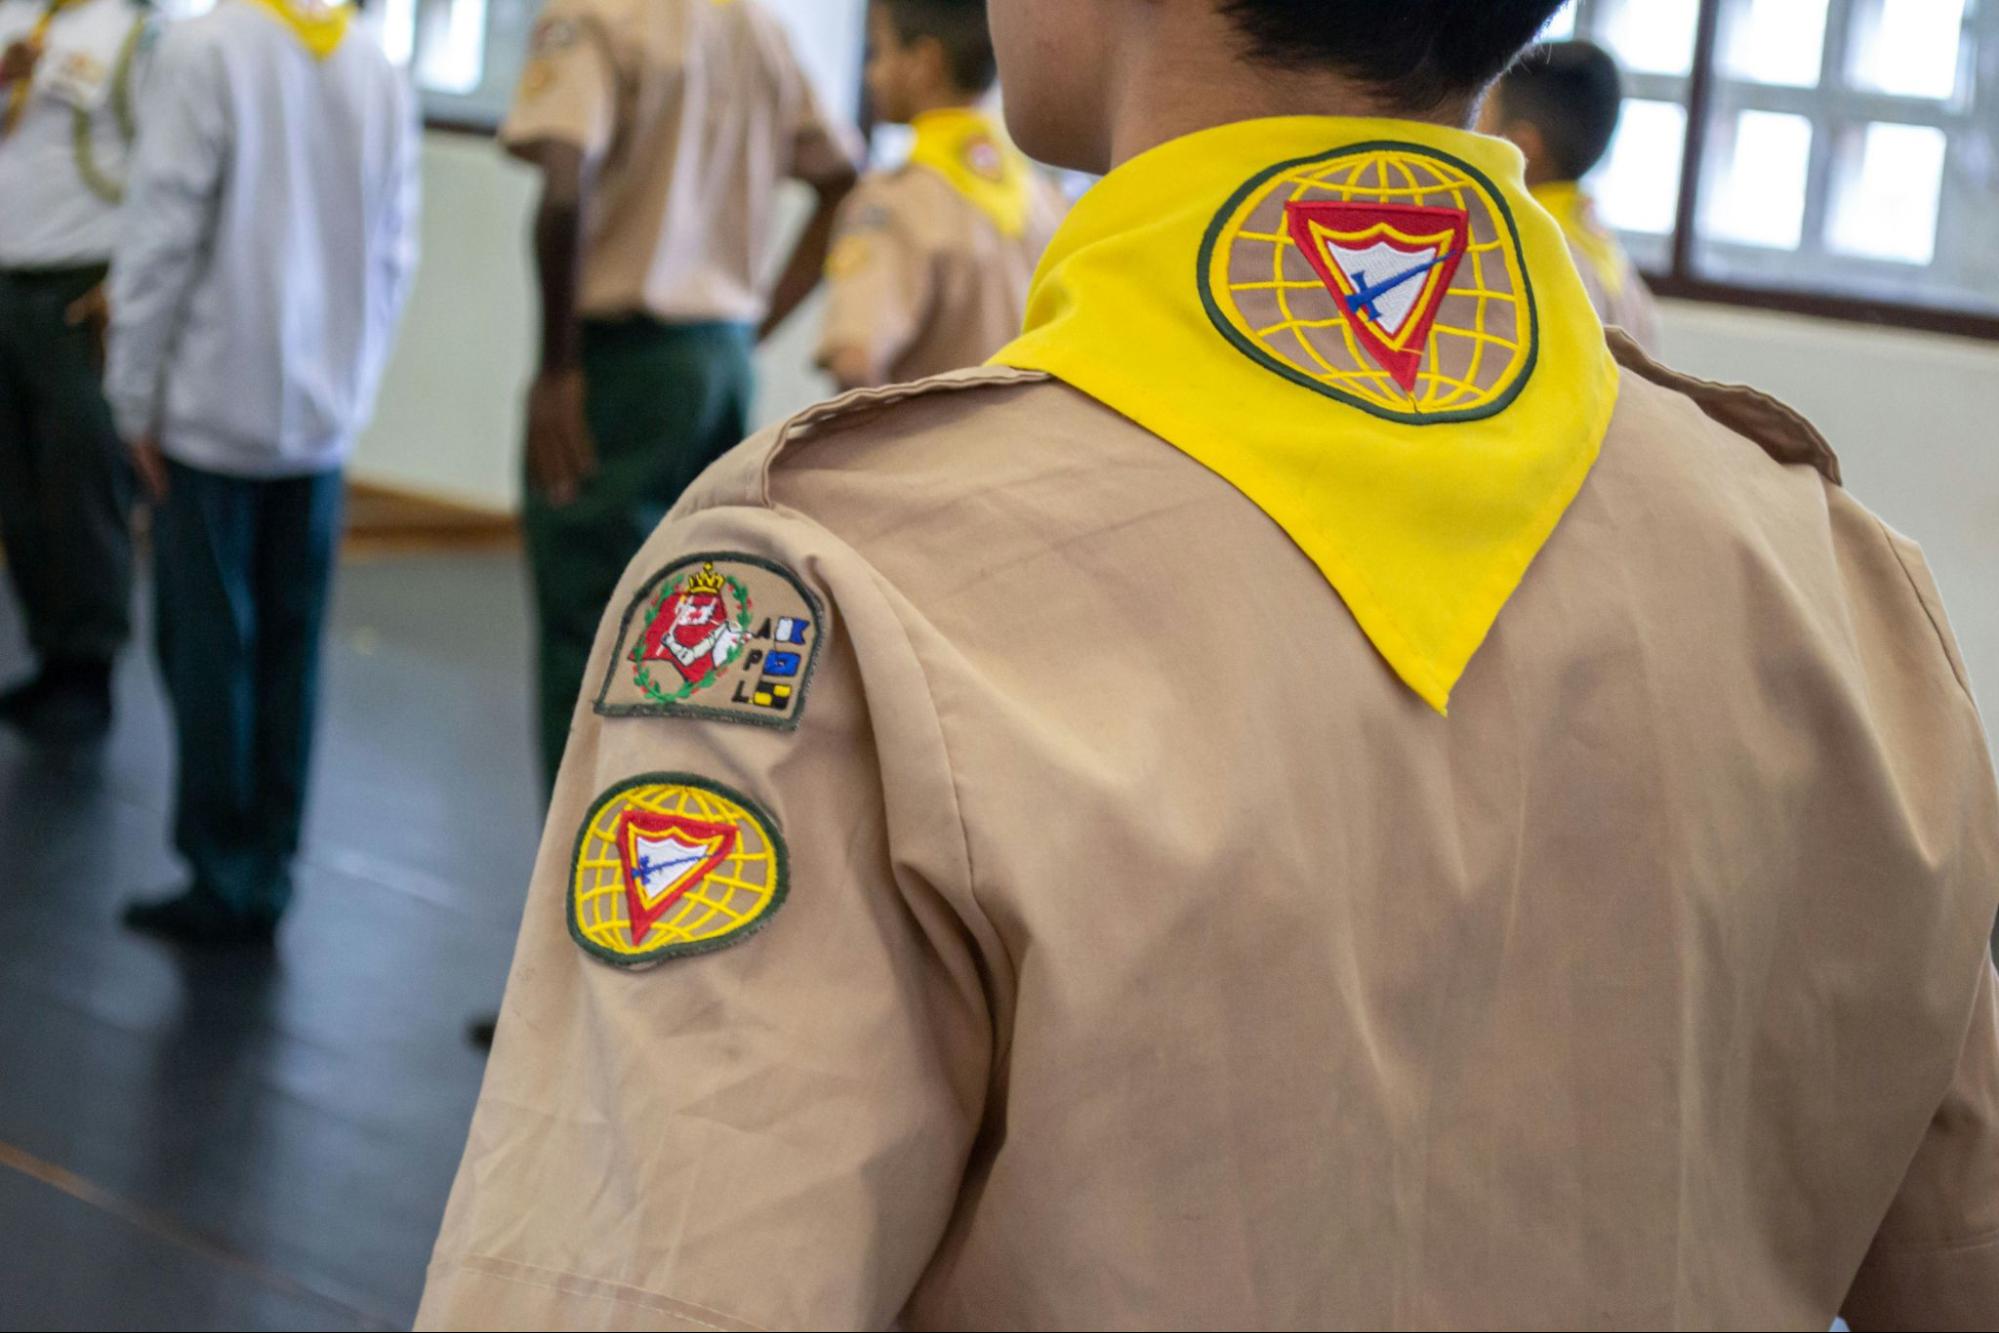
RECOGNITION OF EXPERIENCES AND ACHIEVEMENTS
- Whether it’s completing a particular activity, reaching a fundraising goal, or participating in community service, patches are a tangible and supportive way to recognize the unique accomplishments of each Girl Scout.
EXPRESSION OF PASSIONS AND INDIVIDUALITY
- Patches are a great way for Girl Scouts to express their passions and personality. Hobbies and activities such as camping, hiking, kayaking, community service, and arts and crafts are often featured on Girl Scout patches. And as of 2023, Girl Scouts can even earn mental wellness patches to uplift their spirits and show support for their fellow scouts.
IRON YOUR GIRL SCOUT PATCHES LIKE A PRO
Now that we’ve established the significance of Girl Scout patches, it’s time to learn how to attach your patches. Whether it’s custom name patches or patches that recognize accomplishments, below are tips for anyone looking for a safe and easy way to iron them on at home.
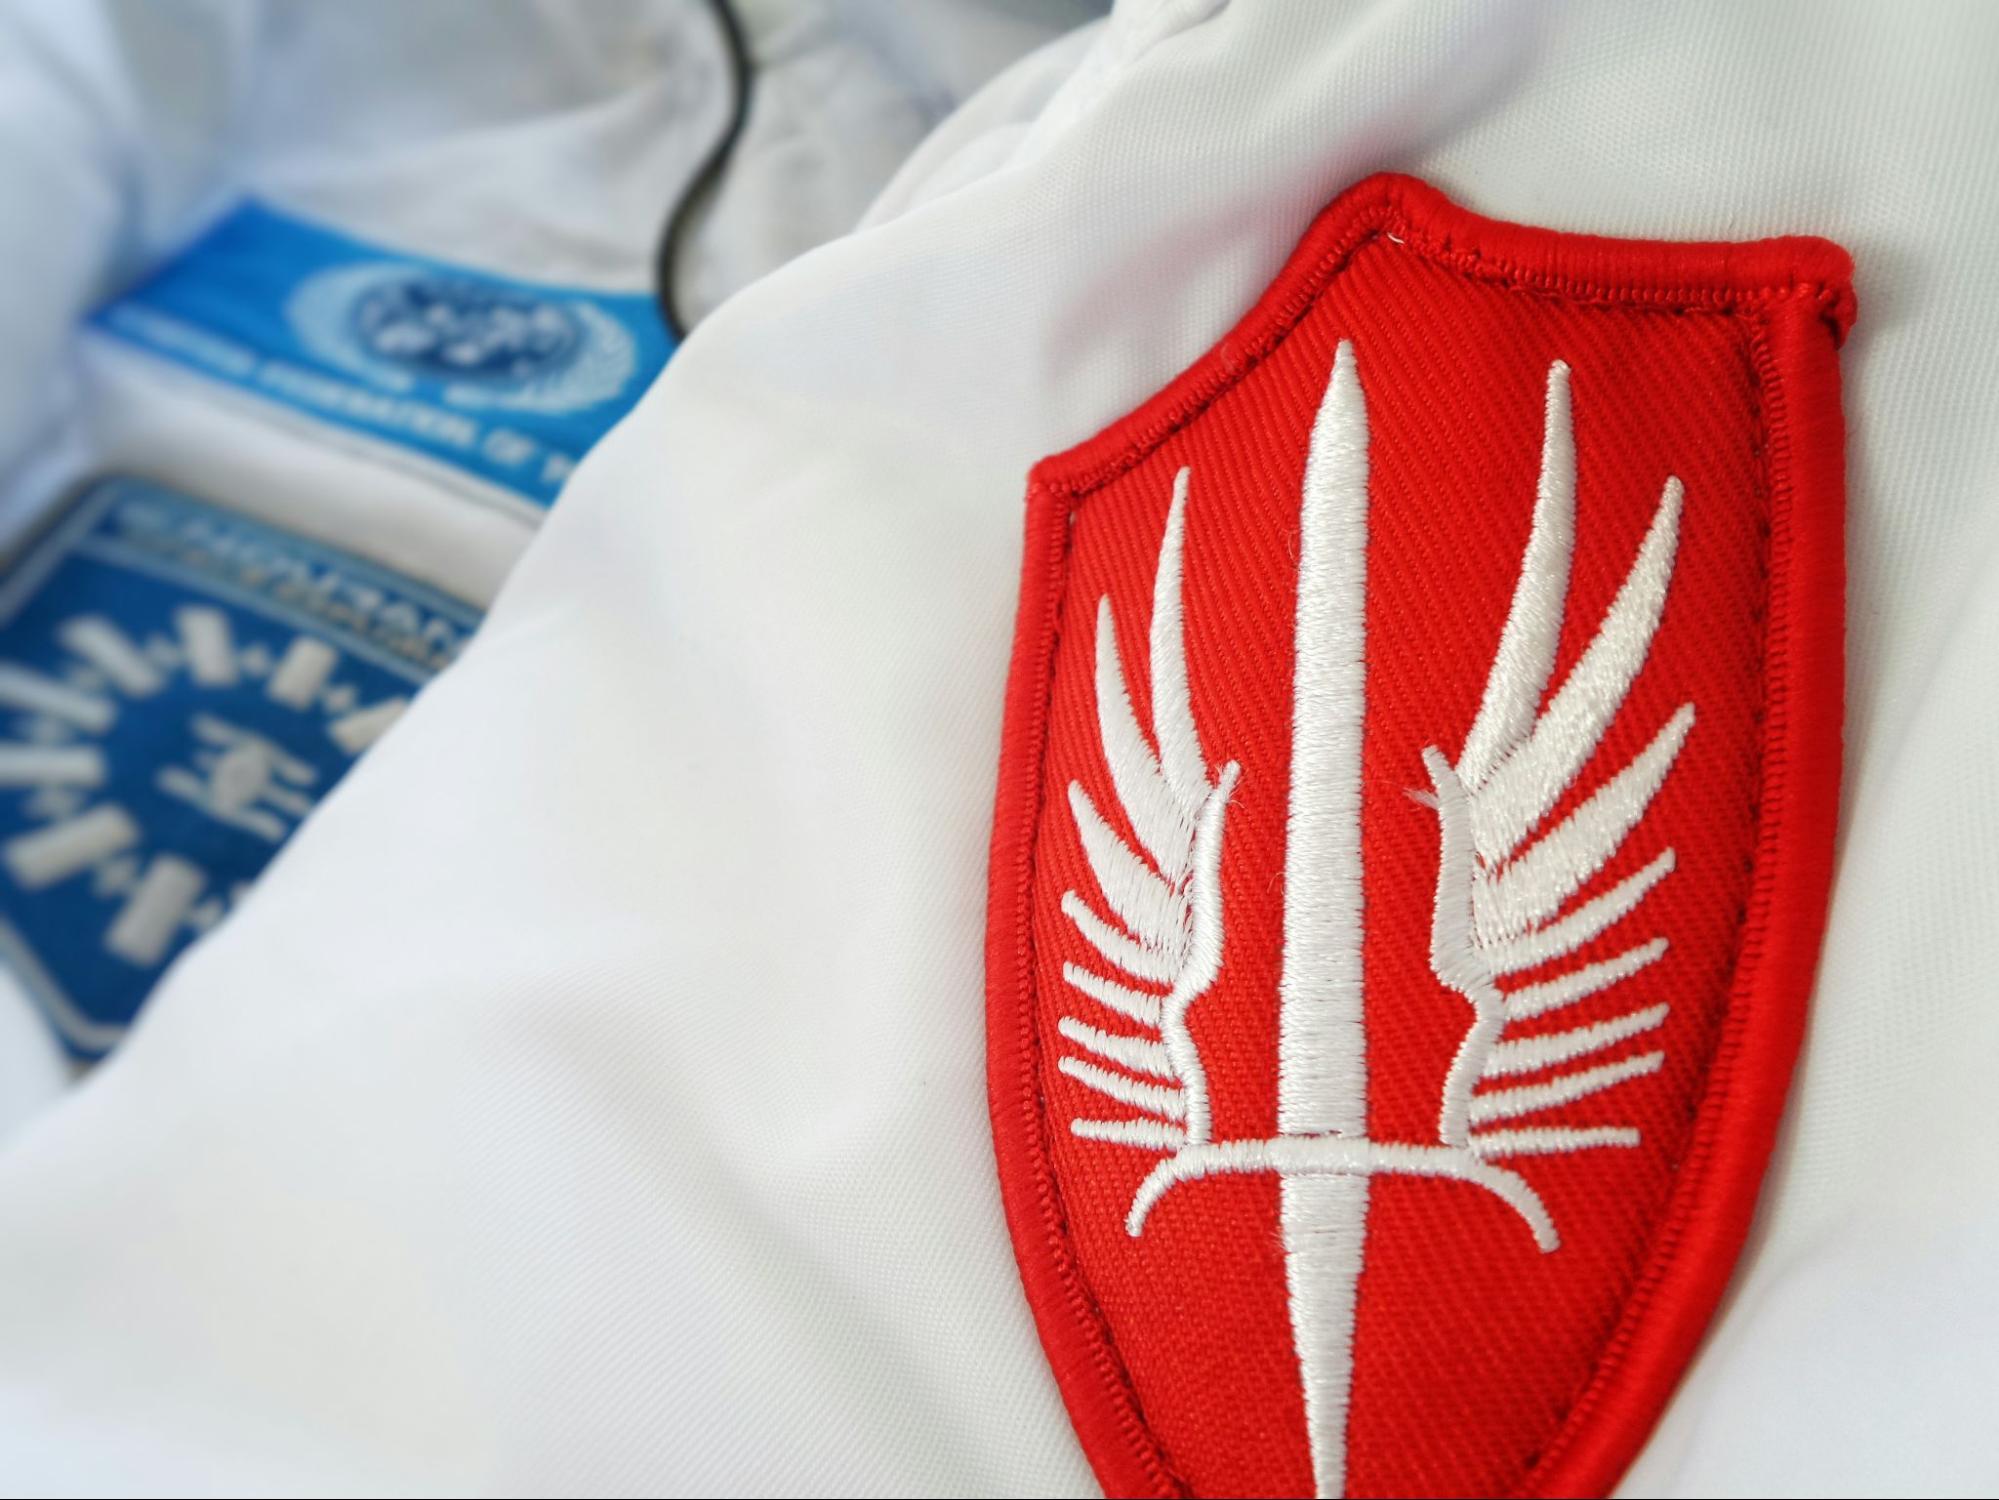
WHAT YOU’LL NEED
Before you begin ironing your patches, here’s everything you’ll need to complete the job:
- Iron (dry heat, no steam)
- Ironing board or a hard, heat-safe surface
- Thin towel, pillow case, pressing cloth or parchment paper
- The Girl Scout sash or vest
- The iron-on patch (make sure it has an adhesive backing—it should feel a little shiny or rubbery)
FOLLOW THE STEPS BELOW
Now that you have everything you need, here’s a step-by-step guide to ironing on patches like a pro:
MAKE SURE THE FABRIC CAN HANDLE THE HEAT
• The first step is to always make sure the garment can handle high heat.- ✅ COTTON or DENIM: Natural cotton holds up best to high heat and is the safest option.
- ❌NYLON or POLYESTER: Synthetic materials are susceptible to burning or melting. (Sewing on your patches is advised when working with these fabrics.)
- GET YOUR IRON READY
• Set it to “Cotton” or a high heat setting.
• Turn off the steam setting—moisture will interfere with the patch’s adhesive.
• Before you begin, allow the iron to heat up for a couple of minutes until it’s as hot as possible. (Never leave a hot iron unattended. Visit the National Fire Authority for a complete guide to electric iron safety.)
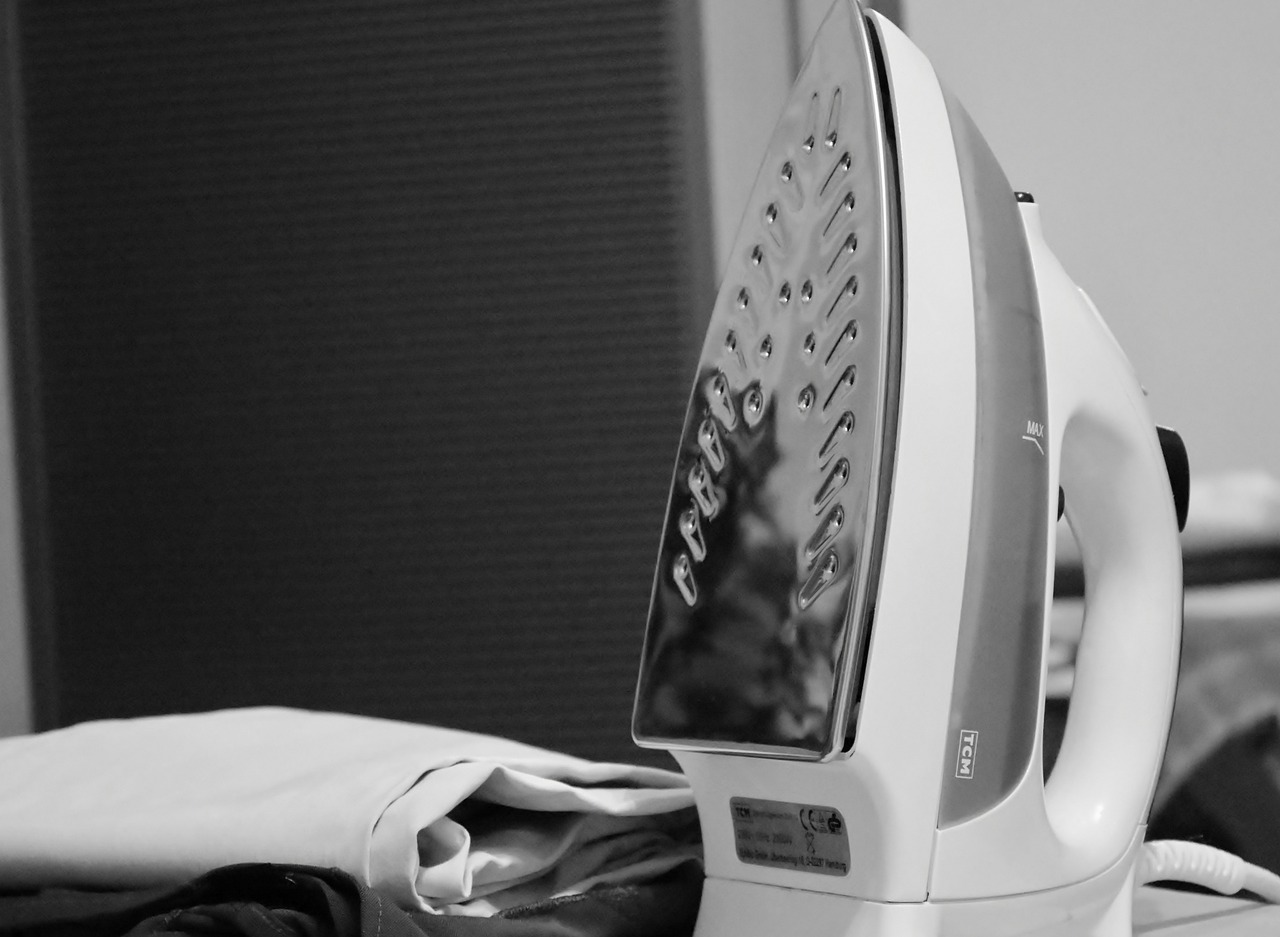
- PLACE THE PATCH INTO POSITION
• Now that you have checked to see if your fabric can handle high heat, place the patch in the desired location on the vest or sash.
• Make sure the patch is straight and centered. Or, if you want to show a little more flair, try placing the patch at a fun angle!
• If you need a little help making sure the patch is perfectly aligned to your liking, try using a ruler. (If you don’t have a ruler, the spine of a book or magazine will work in a pinch.)
- PROTECT THE PATCH FROM DIRECT HEAT
• Protect your Girl Scout patch and garment from direct heat damage by placing a protective layer over the patch:
- ✅ Thin towel
- ✅ Pillowcase
- ✅ Pressing cloth
- ✅ Parchment paper
- ❌ Wax paper (can melt)
- ❌ Paper towels (can catch on fire)
- PRESS IRON DOWN FOR 15–30 SECONDS
• To ensure the iron does its job, hold it in place for 15–30 seconds, applying firm and even pressure onto the protected patch (follow patch instructions for exact time).
• Hold the hot iron steady and avoid sliding it around like you normally would when ironing out wrinkles.
• For larger patches, press in sections, if needed.
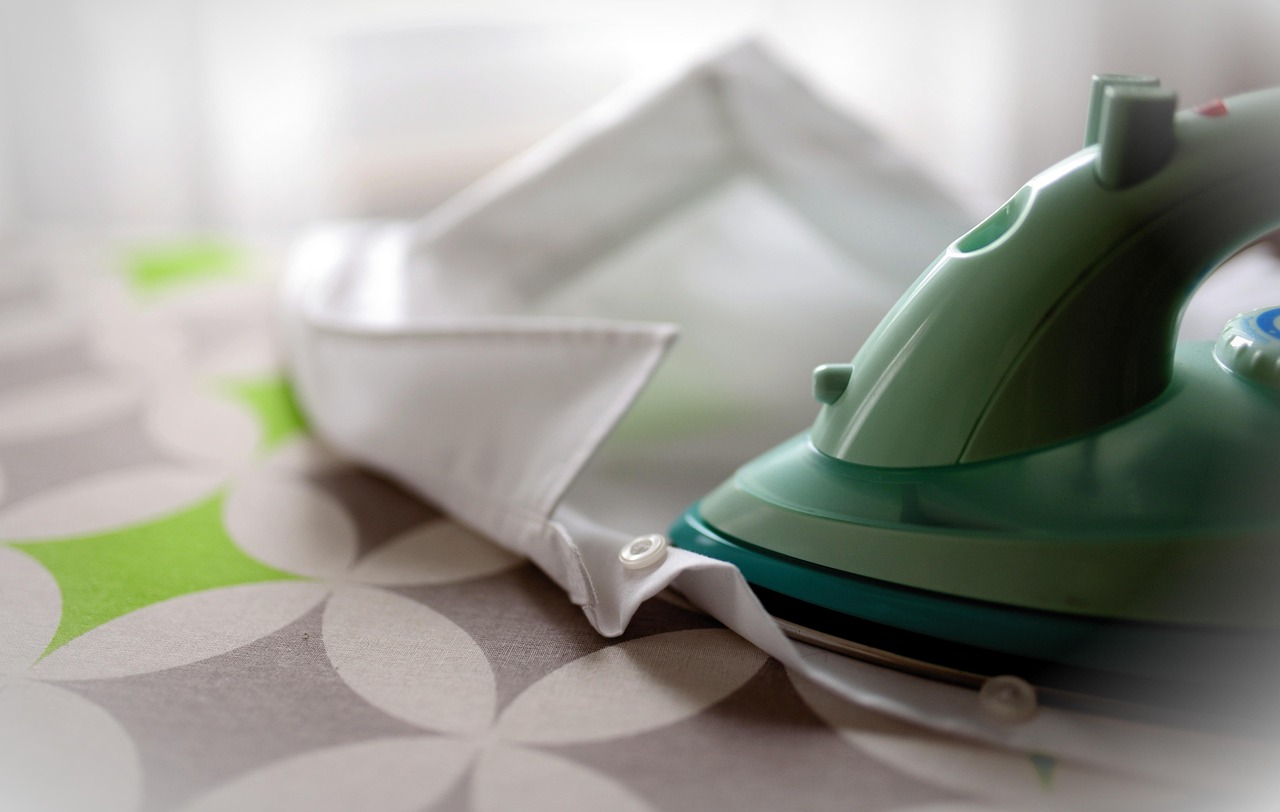
- IRON BACK OF PATCH FOR 15–20 SECONDS
• If possible, turn the garment inside out and firmly press the hot iron to the backside of the patch area for 15–20 seconds.
• This will help the adhesive to melt into the fabric, forming a stronger bond.
- LET THE ADHESIVE SET
• Do not touch or move the patch to allow the adhesive to completely set.
• Allow the patch to cool for 5–10 minutes before moving the garment.
- CHECK THE EDGES
• If any corner lifts, repeat the ironing process.
• If corners continue to lift, try using more sustained pressure and heat.
- AVOID WASHING GARMENT FOR 24-48 HOURS
• To ensure your Girl Scout patch stays in place, do not wash the garment for 24-48 hours.
• Once you’ve waited a day or two, wash the garment inside-out on a gentle cycle with cold water.
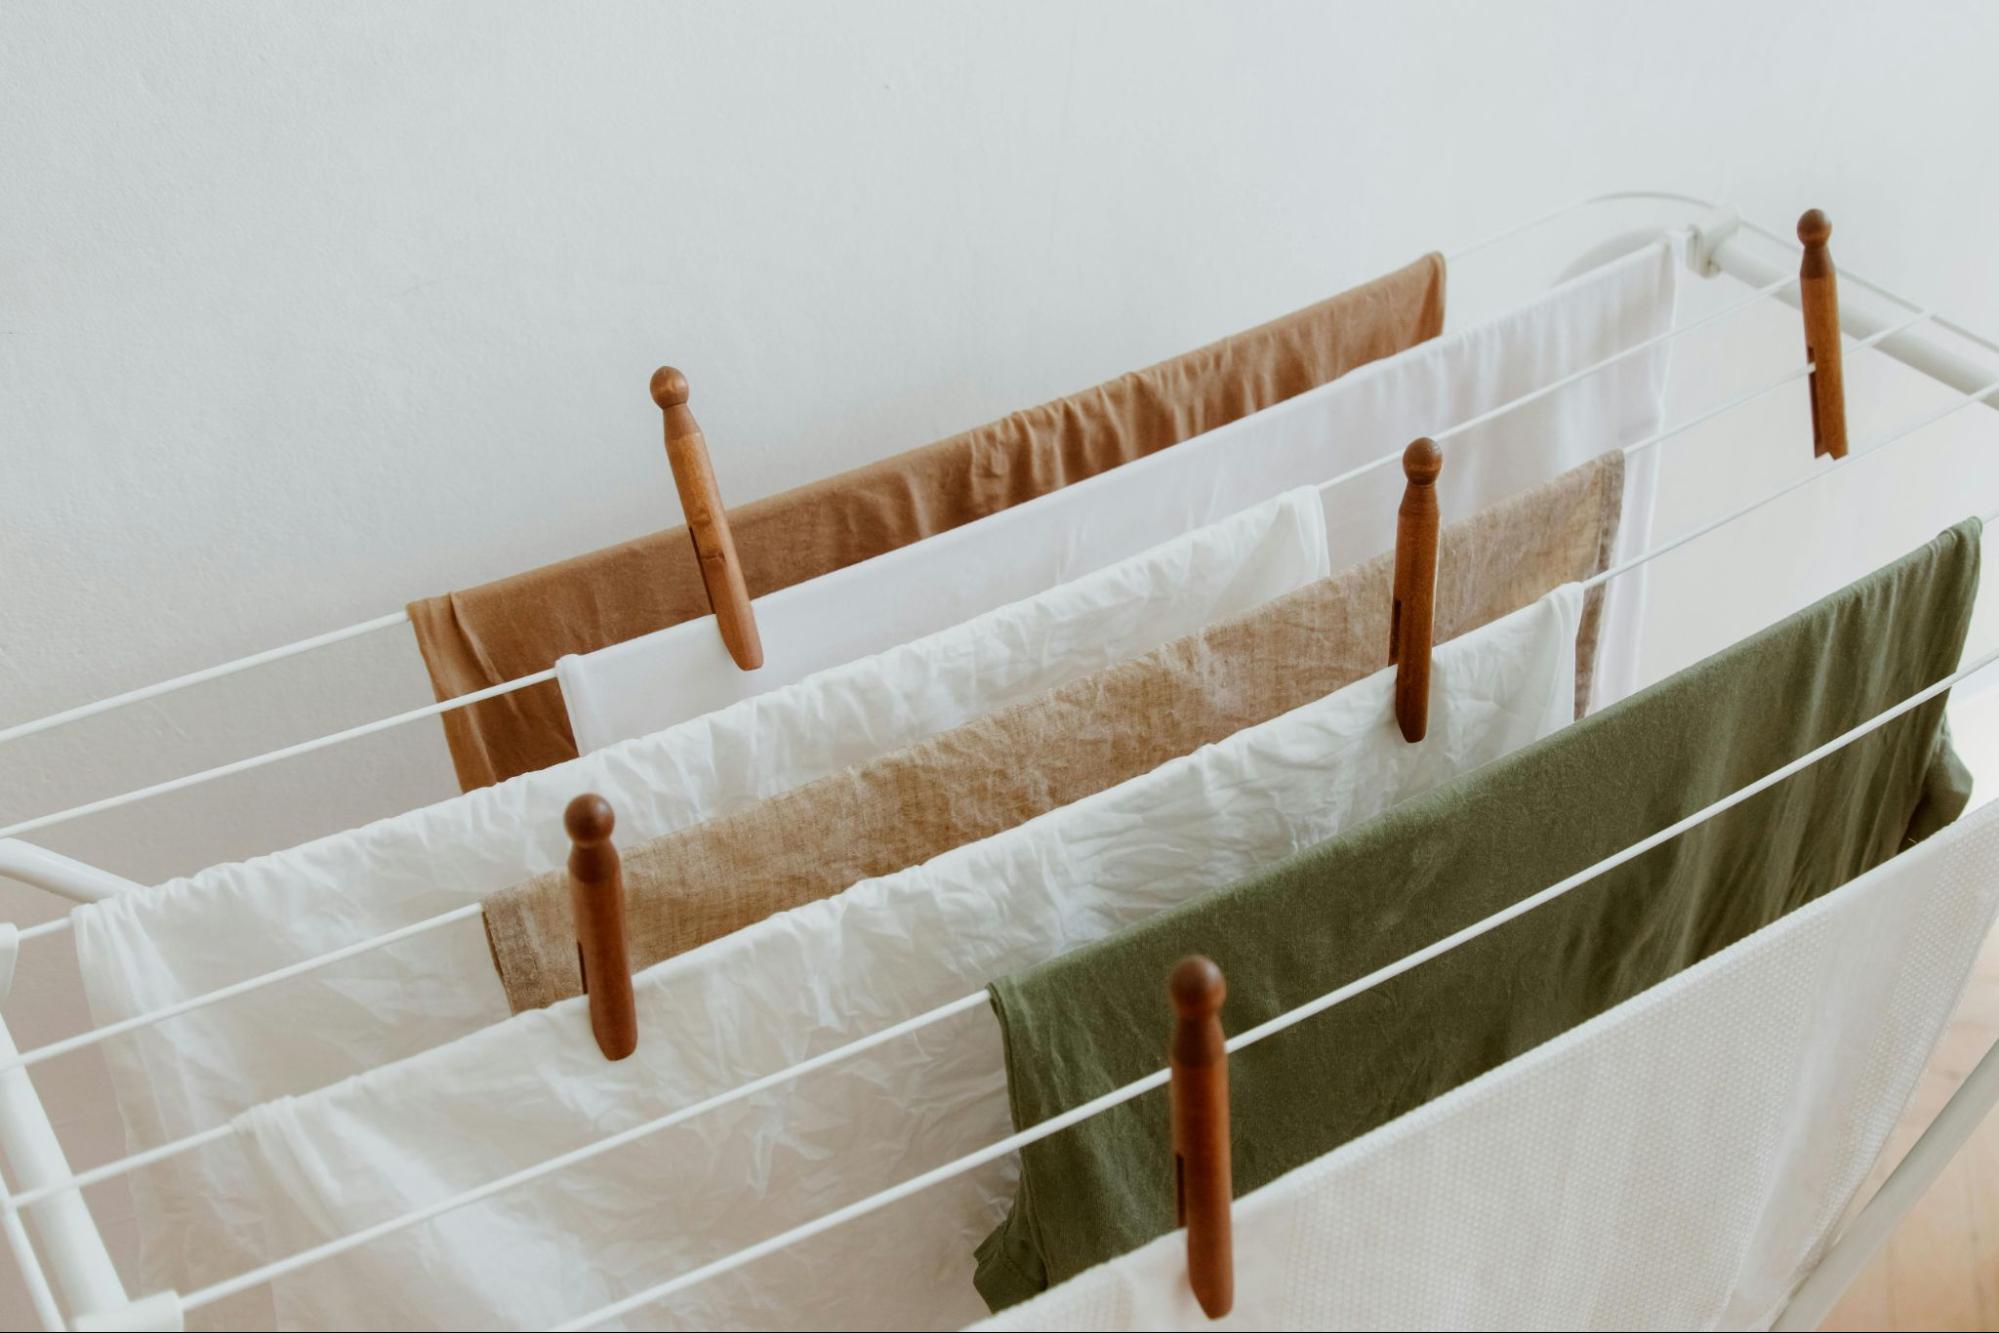
• Heat can weaken the glue over time, so avoid using the dryer and instead hang the garment to let it air-dry.
- BONUS TIP
• Even iron-on patches may peel over time, especially on stretchy or frequently washed fabric, or items that receive a lot of wear and tear, like backpack patches. Below are ways to ensure your favorite patches last:
- 👚Fabric glue: Use fabric glue under any loose edges.
- 🪡 Stitching: For ultimate durability, place a few hand stitches around the edges using matching thread or clear nylon.
COMMEMORATE THEIR JOURNEY, ONE PATCH AT A TIME
Becoming a Girl Scout is a journey filled with unforgettable memories. Custom patches are the perfect way to celebrate those moments and honor her dedication.
Whether you’re personalizing a sash, bookbag, jacket, or hat, if you’re looking for a skilled artisan who makes custom patches, THE/STUDIO offers high-quality, custom-made products that let you express yourself with confidence.
From velcro patches to iron-on options, customizing your garments and accessories has never been easier. Buy custom patches today and show off what makes you unique.